Best S’mores Recipe with Maria Crackers and Dulce de Leche
I love this s’mores recipe that combines Cuban favorites like Maria Crackers and dulce de leche. I love the idea of s’mores and the flavor combination of chocolate, marshmallow, and graham cracker. What’s not to love about that? But whenever I bite into a homemade s’more, the end result is too messy, with the melting chocolate and the thickness of the graham cracker. Plus the chocolate bar overpowers the marshmallow flavor.
I knew I loved the marshmallow sandwich but wanted to find a combination that let the marshmallow flavor come through and was a little less messy to eat. So I turned to two Cuban treats I grew up eating… Maria Crackers and dulce de leche.
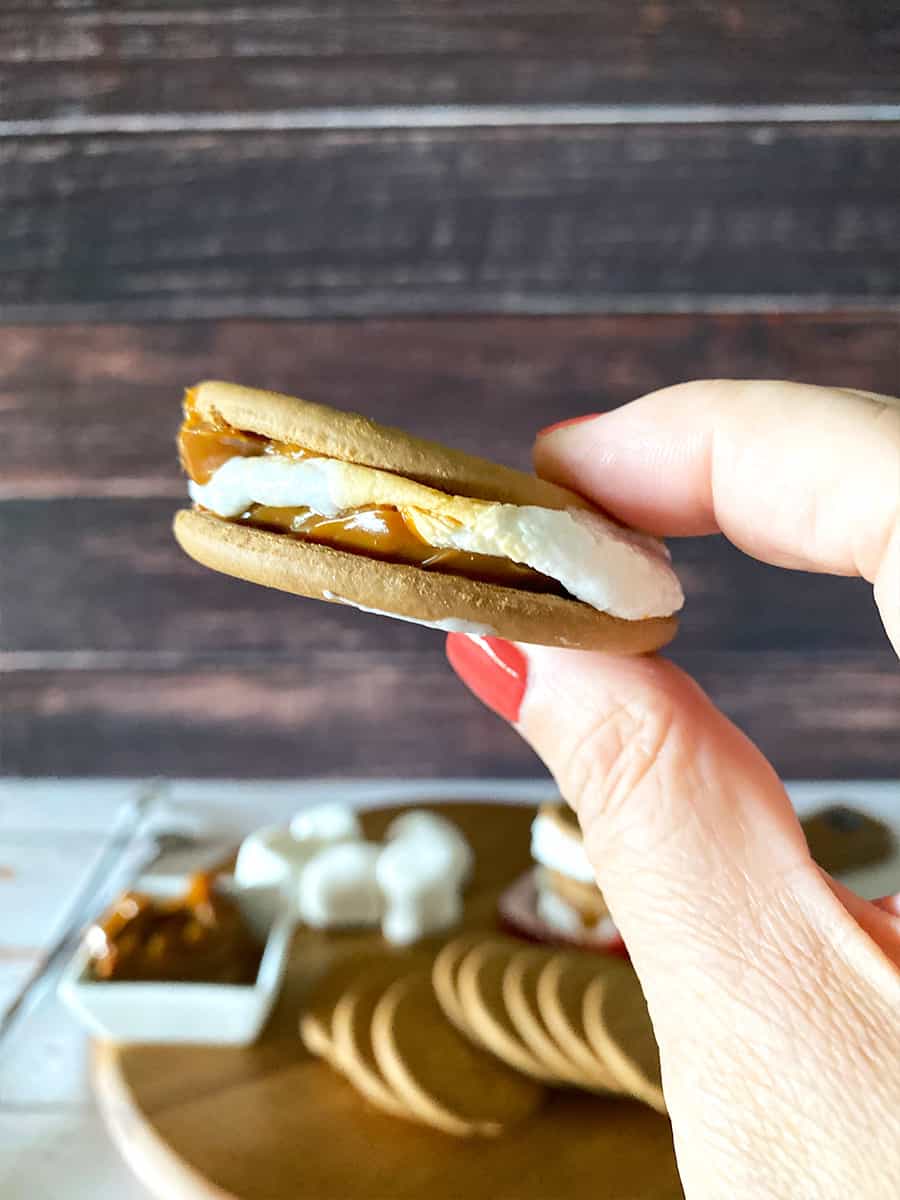
I love this s’mores recipe because the dulce de leche complements the marshmallow. The flavors blend so well together, it’s like a symphony in your mouth! So, so good!!
And it’s not messy, so I can eat one without getting it all over my face and clothes. So I can be a kid at heart and still act (somewhat) like a grownup 😉
Maria Crackers, My Childhood Favorite
These sweet crackers are a staple in most Cuban kitchens. It’s similar to a graham cracker, but it’s round, thinner, and a little prettier. So they make these homemade s’mores look a little dressed up! Growing up, I used to eat these crackers dipped in sweetened condensed milk, smeared with dulce de leche, or layered with guava and cream cheese. It’s perfect for s’mores! You can find these in the cracker aisle of your local supermarket. Or you can order them online (affiliate link).
What Is Dulce de Leche
This is a popular spread that’s eaten all over Latin America and the Spanish Caribbean islands. It’s made by cooking sweetened condensed milk until it turns brown and thickens to a spread. Oh, it’s so, so good! You can use it on cookies, cakes, crepes, ice cream, your fingers, you name it!
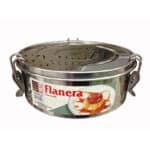
You can find dulce de leche in a can, right next to the sweetened condensed milk. The brand I use is Nestle La Lechera. You can also make your own, but that’s a bit time-consuming. You can make it by baking sweetened condensed milk in a water bath (bain-marie method) or by simmering a submerged, unopened can on the stovetop (you need to make sure the can remains submerged in water). Either way, it takes hours. But you don’t need to go through all that trouble. You can use a can of Nestle dulce de leche for these s’mores.
Origin of S’mores
The first s’mores recipe showed up in the Tramping and Trailing with the Girl Scouts cookbook first published in 1927. But before that, marshmallow roasts had become a popular campfire treat. Also, two other marshmallow treats became popular just before the publishing of this cookbook.
Mallomars, a graham cookie topped with a mound of marshmallow goodness and dipped in chocolate was introduced in 1913. I loved these growing up (still do today, actually). Another childhood favorite, introduced in 1917, was the MoonPie. I loved this marshmallow cookie sandwich covered in chocolate. Both of these have all the flavors you find in a s’mores but the ratios are a little nicer and it’s less messy to eat.
Although s’mores, Mallomars, and MoonPies are similar, the thing that makes s’mores so unique is that they are most often made over a campfire by kids, with adult supervision, of course. There’s just something so fun about roasting the marshmallows and making your own ooey-gooey treat!
You can learn more about the history of this treat from this very interesting Nation Geo article.
From the Campfire to the Barbecue
This s’mores recipe can certainly be made by the campfire, but it’s also easy to make on the barbecue. It’s the perfect treat to share after a backyard barbecue! Just have the marshmallows and skewers handy and everyone can hang around the grill and make their own, or you can play grillmaster and make them yourself and pass them out.
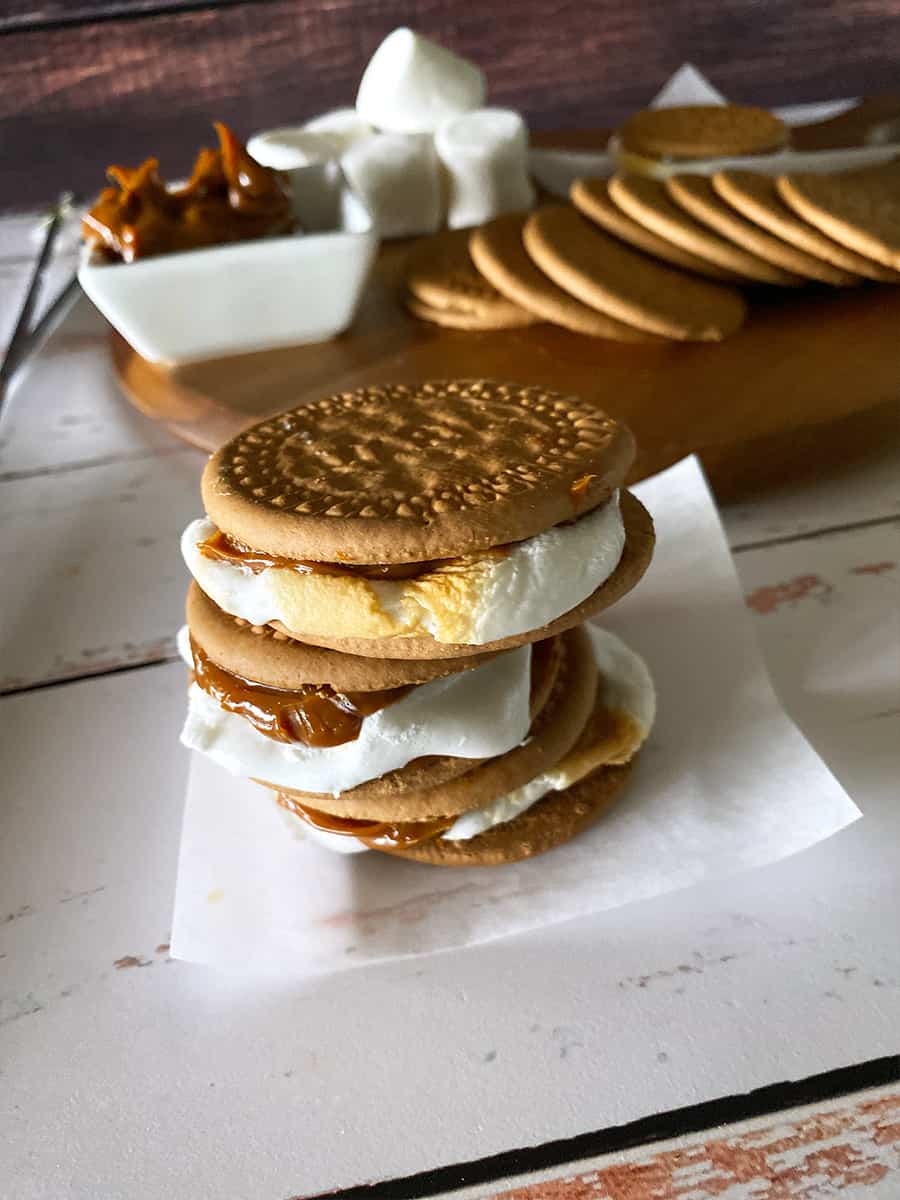
You can also make this s’mores recipe in advance and enjoy them after your backyard barbecue. If you let these s’mores sit for a while, the Maria Cracker softens and it becomes more like a MoonPie. That’s my favorite way to eat it!
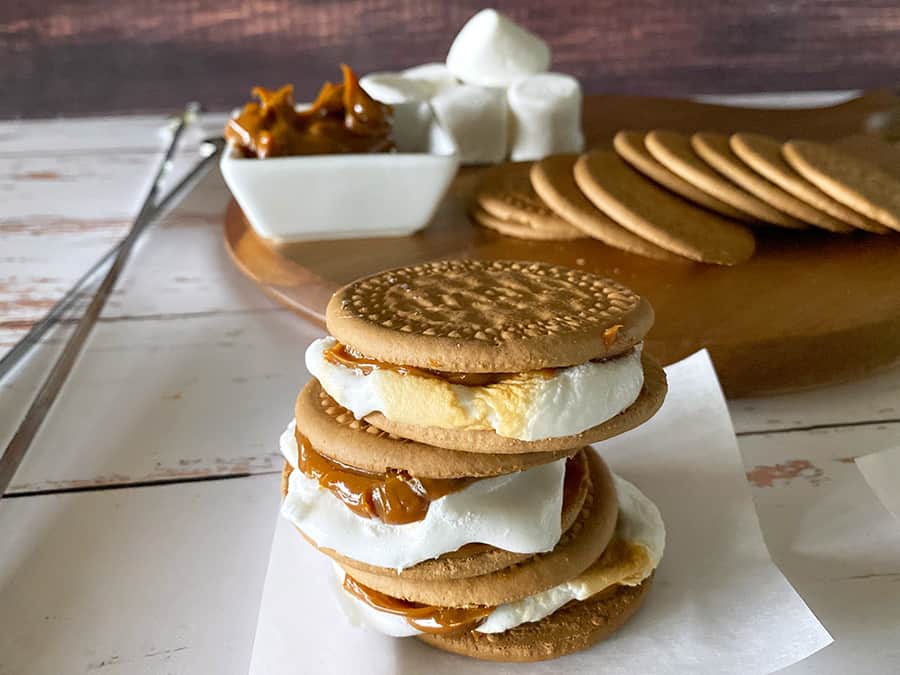
How To Make Homemade S’mores
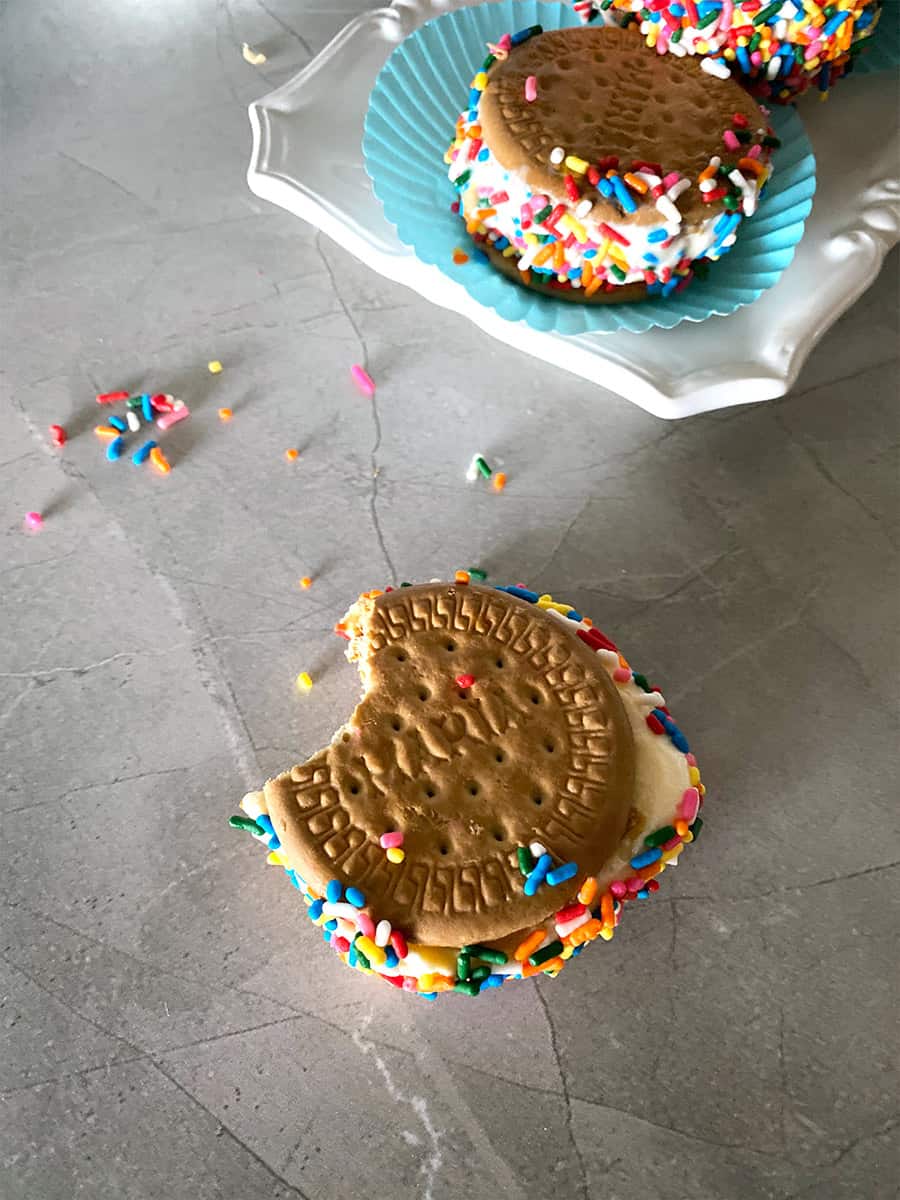
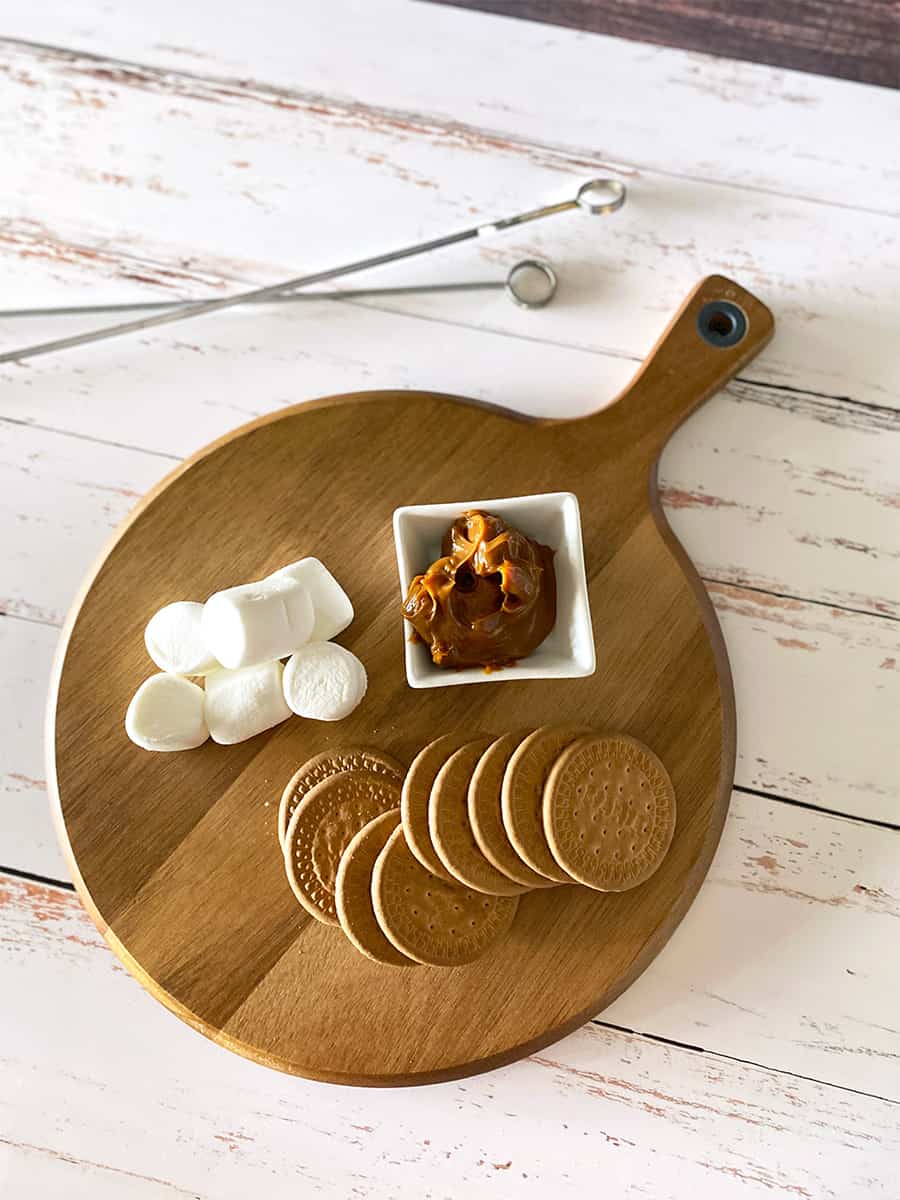
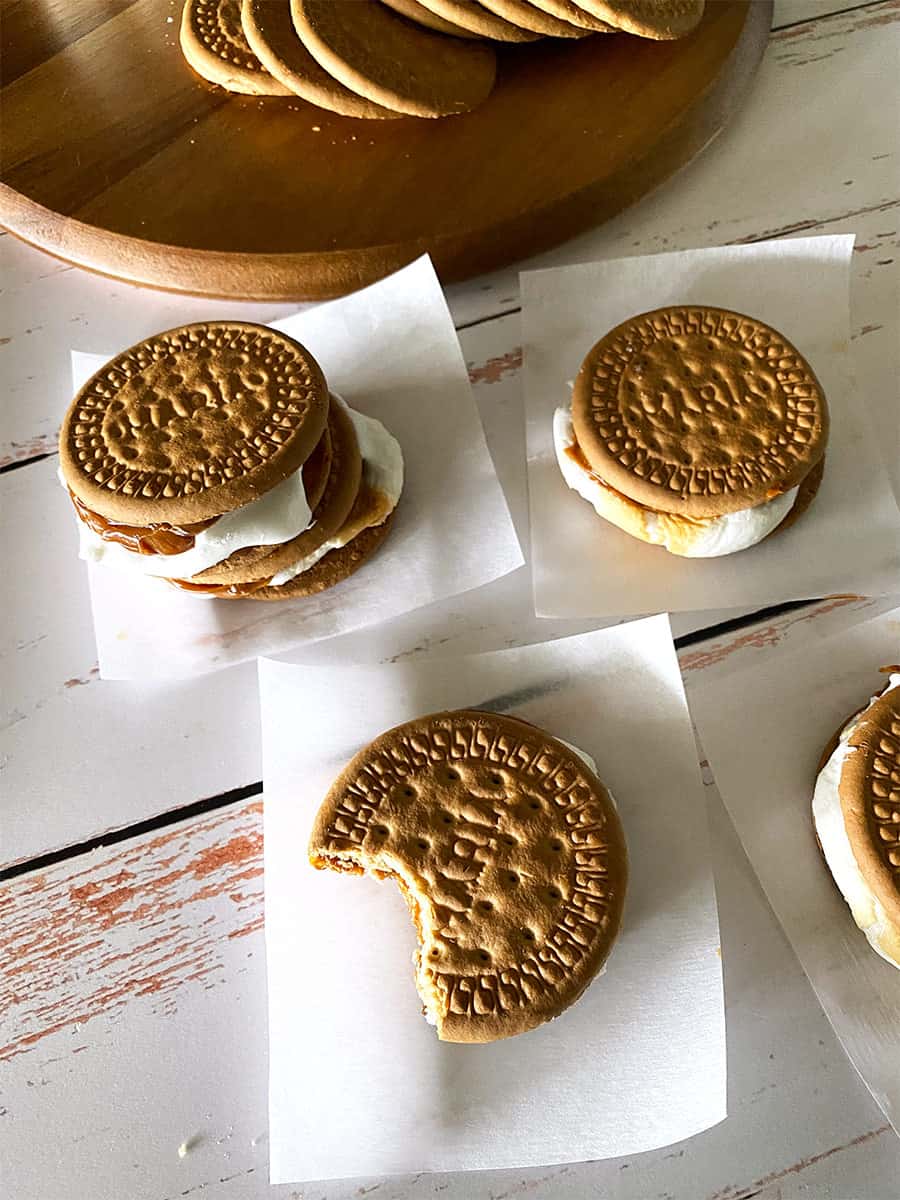
To make these homemade s’mores, you’ll need Maria Crackers, dulce de leche, and marshmallows.
Spread about a teaspoon of dulce de leche on each Maria Cracker. Make sure to spread the dulce de leche on the “bottom” side, so the pretty embossed side is visible in the finished s’mores. They look prettier that way.
Then roast your marshmallow over the grill, turning it as you go so that all sides get browned. Once the marshmallow is soft and browned on all sides, press between the Maria Crackers.
Try these for your next backyard barbecue and let me know how they turn out!
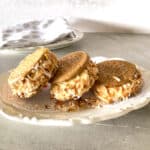
If you like this homemade s’mores recipe, you may also like my Homemade Ice Cream Sandwiches with dulce de leche.
Print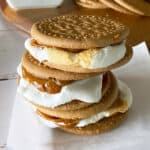
Best S’mores Recipe with Maria Crackers and Dulce de Leche
- Prep Time: 1
- Cook Time: 2
- Total Time: 3 minutes
- Yield: 8 1x
- Category: desserts
- Method: roasting
- Cuisine: cuban
Description
This s’mores recipe combines Cuban favorites like dulce de leche and Maria Crackers for a uniquely Cuban treat!
Ingredients
16 teaspoons dulce de leche
16 Maria Crackers
8 large marshmallows
Instructions
Spread one teaspoon of dulce de leche on the “bottom” side of a Maria Cracker (you want the pretty embossed side to show). Roast marshmallow on a long skewer over a grill fire for about two minutes (times will vary). Slowly turn the skewer so the marshmallow roasts evenly on all sides. Place the marshmallow on a prepared cracker (dulce de leche side up). Place a second cracker (dulce de leche side down) on top and gently press down. Enjoy!
Notes
You can also make these on the stovetop over a burner set on high, using a long skewer. Slowly turn the skewer so it cooks evenly on all sides. Be careful not to spill the marshmallow on the burner.
If you let these s’mores sit for a while, the cookie will soften and it will be more like a MoonPie!
Time shown is per s’more.
Nutrition
- Serving Size: 8
Keywords: S’mores recipe, homemade s’mores, dulce de leche, maria crackers, easy s’mores, how to make s’mores
Best S’mores Recipe with Maria Crackers and Dulce de Leche Read More »