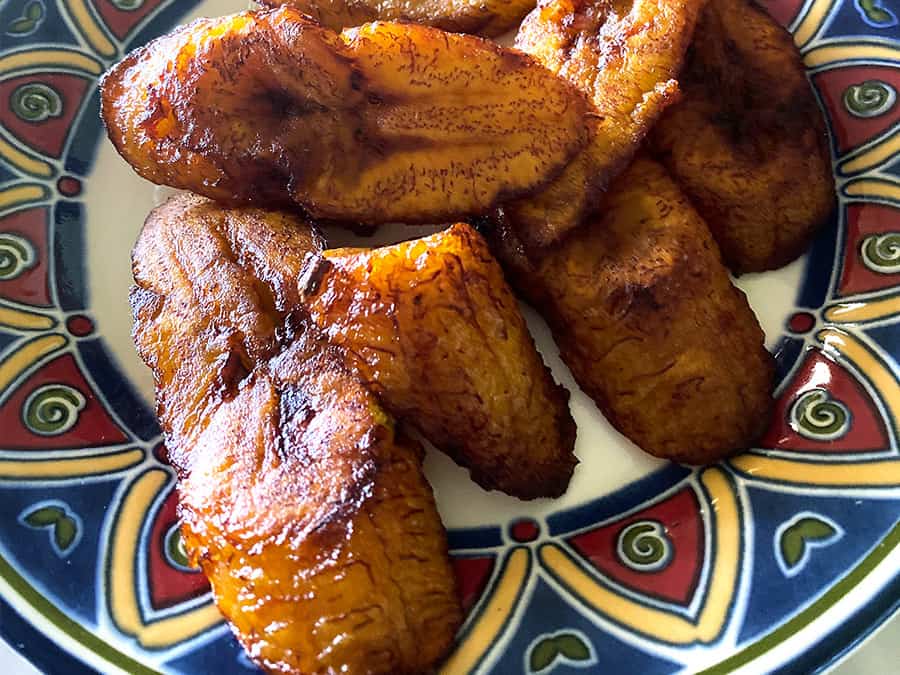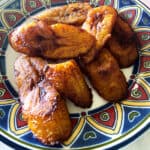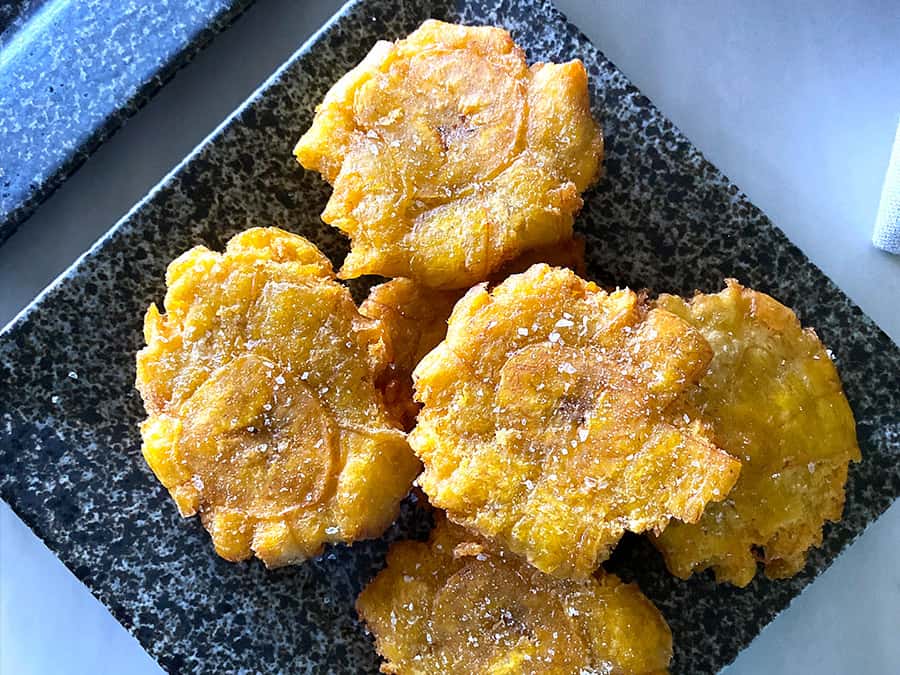
Cuban Tostones Are Great As A Side Dish or Appetizer
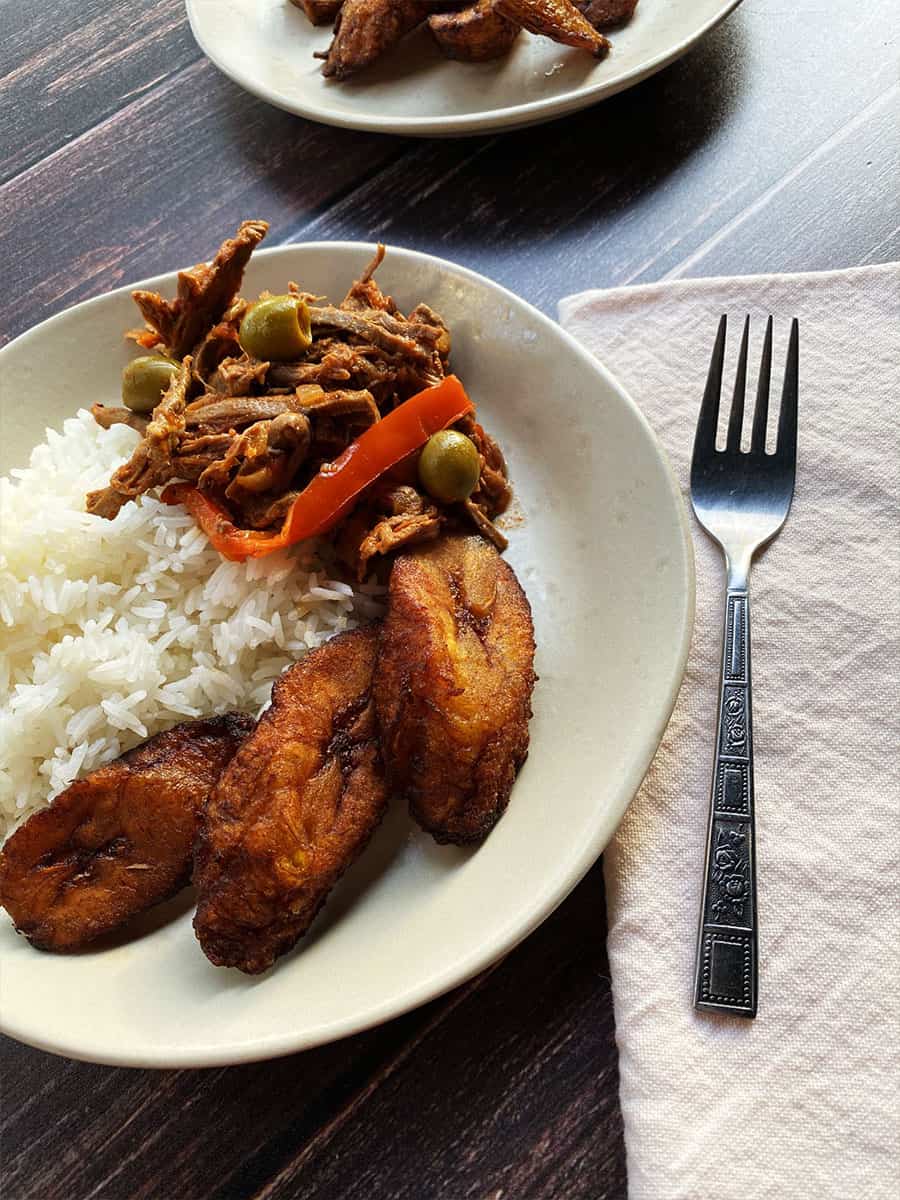
I love tostones! They are my favorite way to eat fried plantains. I love how every bite gives you a mix of salty crunch and tender plantain flavor that complements so many other flavors. Tostones taste so, so good with savory toppings or a tangy, citrusy dipping sauce like chimichurri. Or paired with popular Cuban dishes like paella or picadillo.
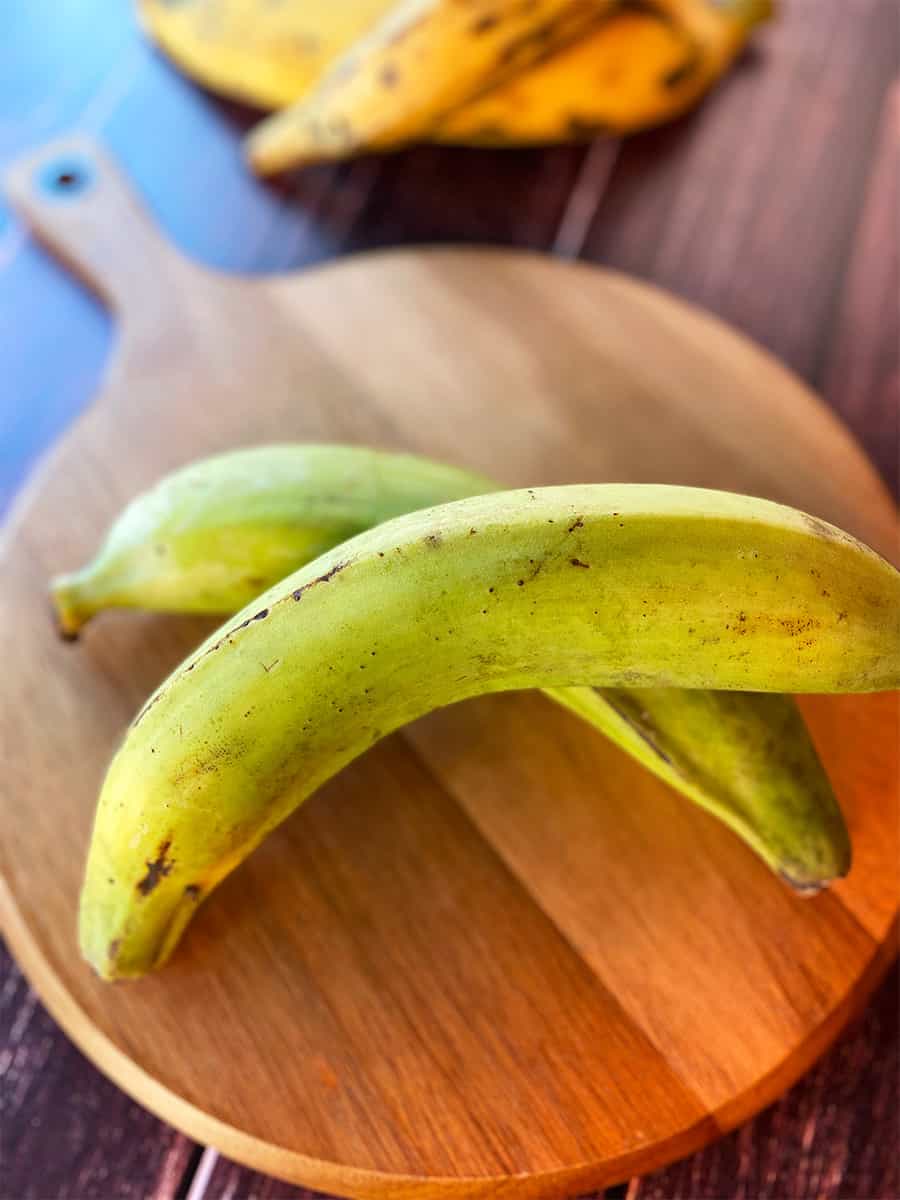
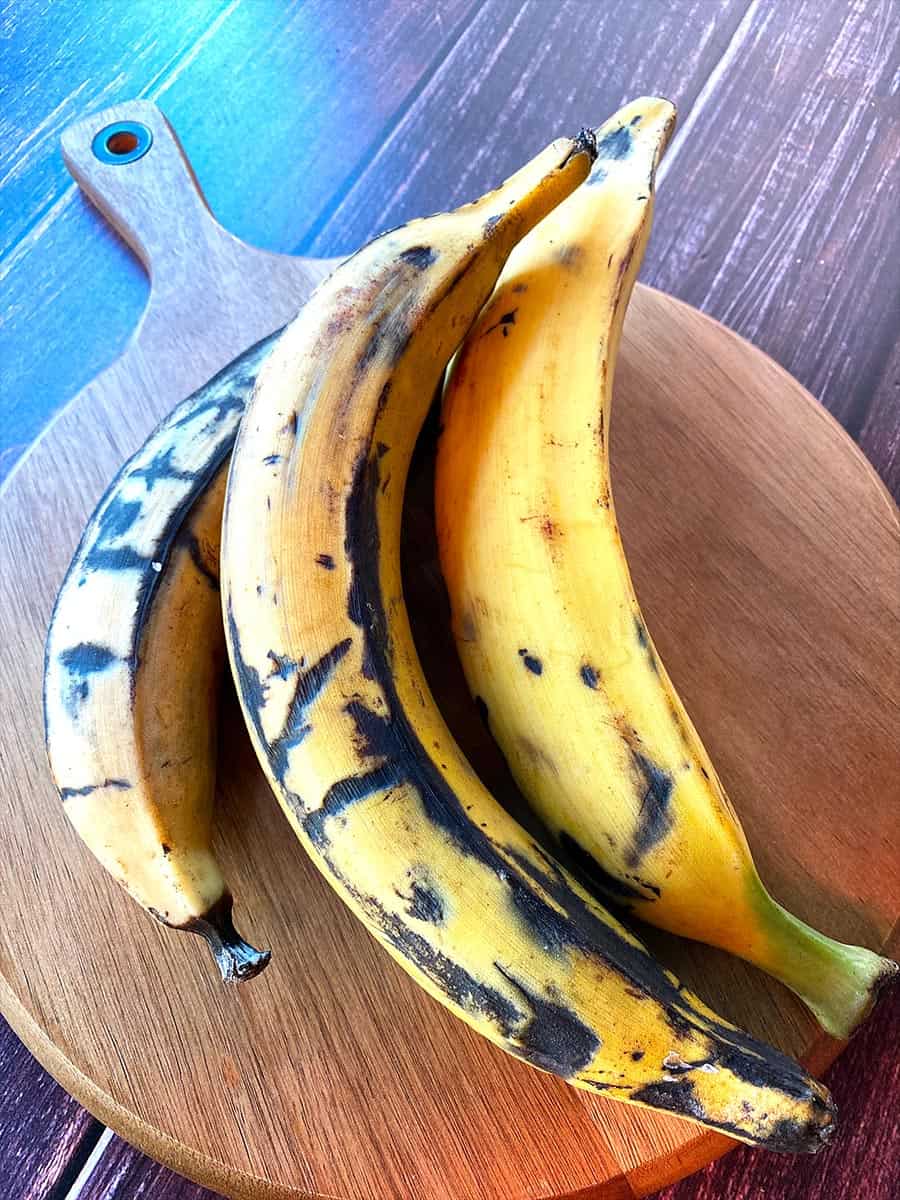
What’s A Plantain?
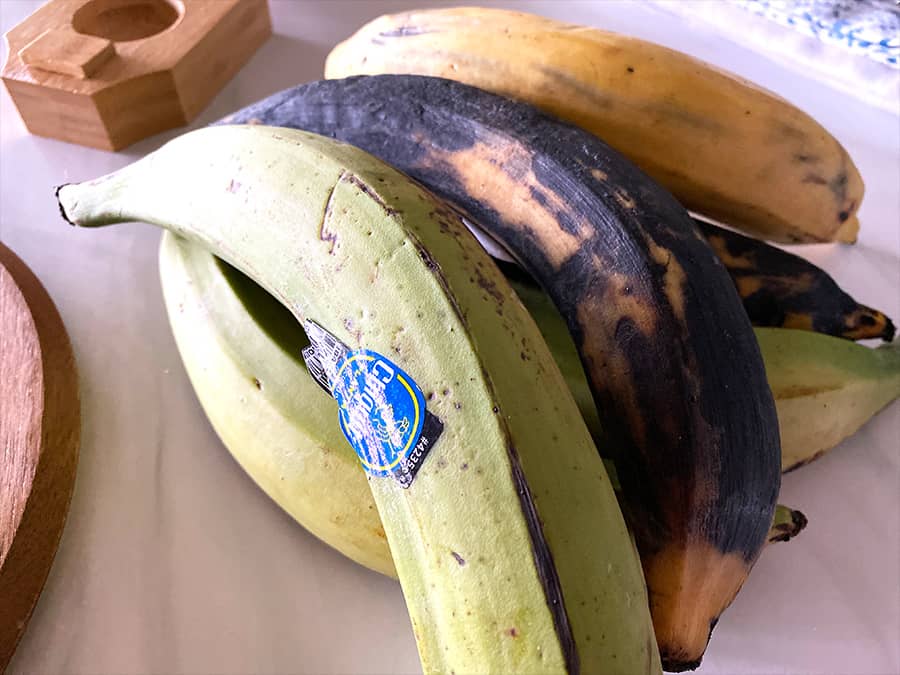
Before I get too far along, I want to make sure you know what a plantain is. Plantains look a lot like a banana, but they are bigger and need to be cooked before you can eat them. They are grown all over South and Central America and the Caribbean, and it’s a staple of both Latin and Caribbean diets. You can learn more about Cuban plantains in my Why I Love Cuban Plantains post.
Maduros vs. Tostones
The two most popular ways to enjoy plantains are when they are green and are twice-fried to make tostones. Or when they are super ripe and turned into maduros. It seems most folks prefer one or the other. In my house, we’re evenly split between the two. But if you have a sweet tooth, you’ll definitely want to try making maduros.
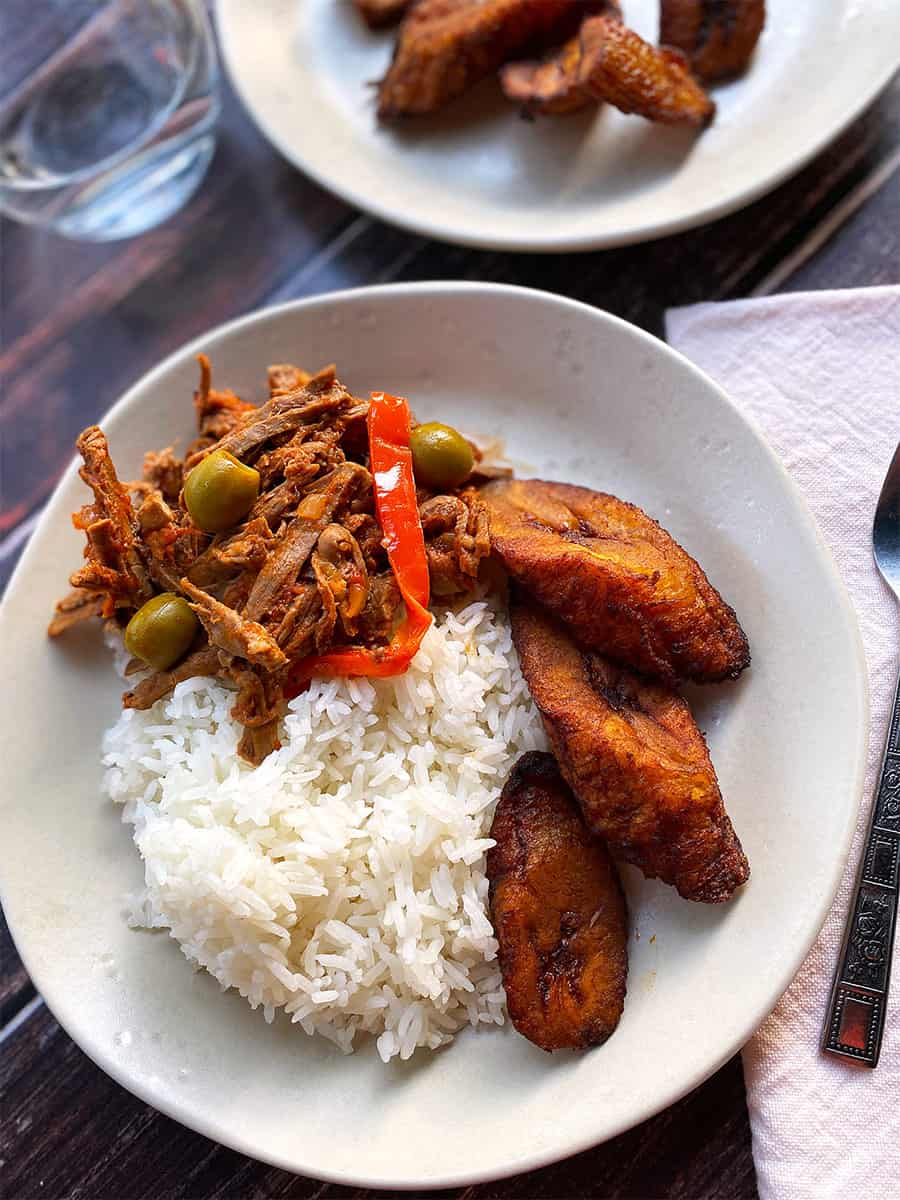
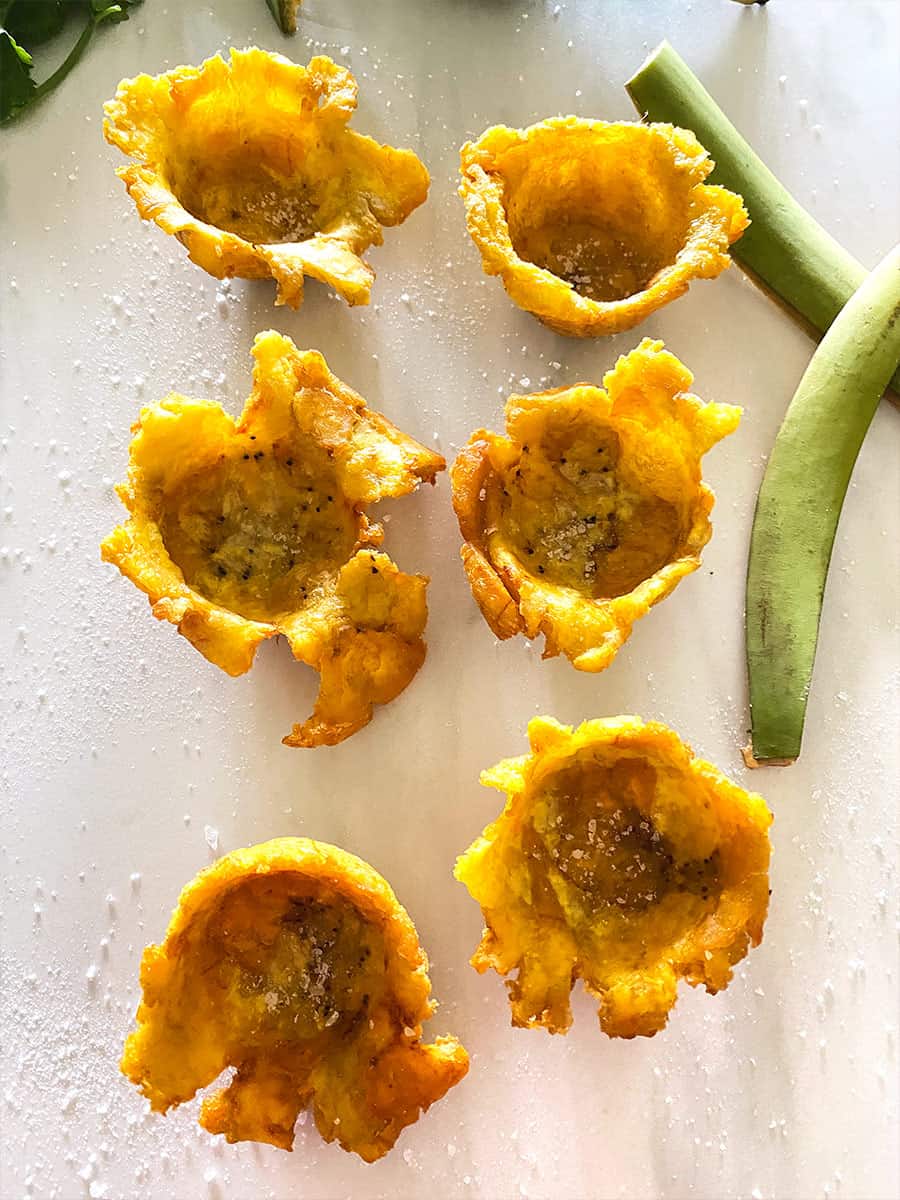
For me, tostones are the best. Especially because you can shape them into little tostones cups that can be filled with just about anything you find delicious, like ceviche or ropa vieja.

How To Cook Tostones
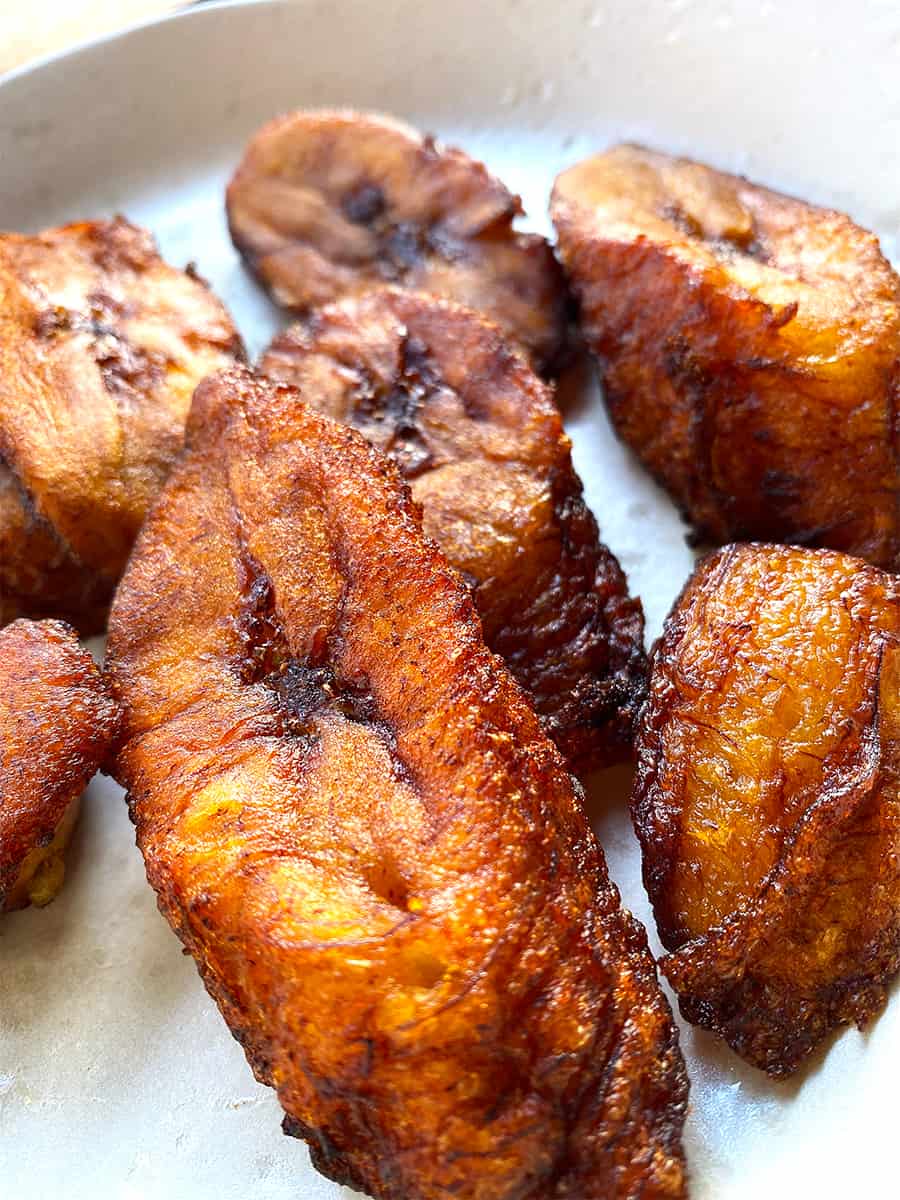
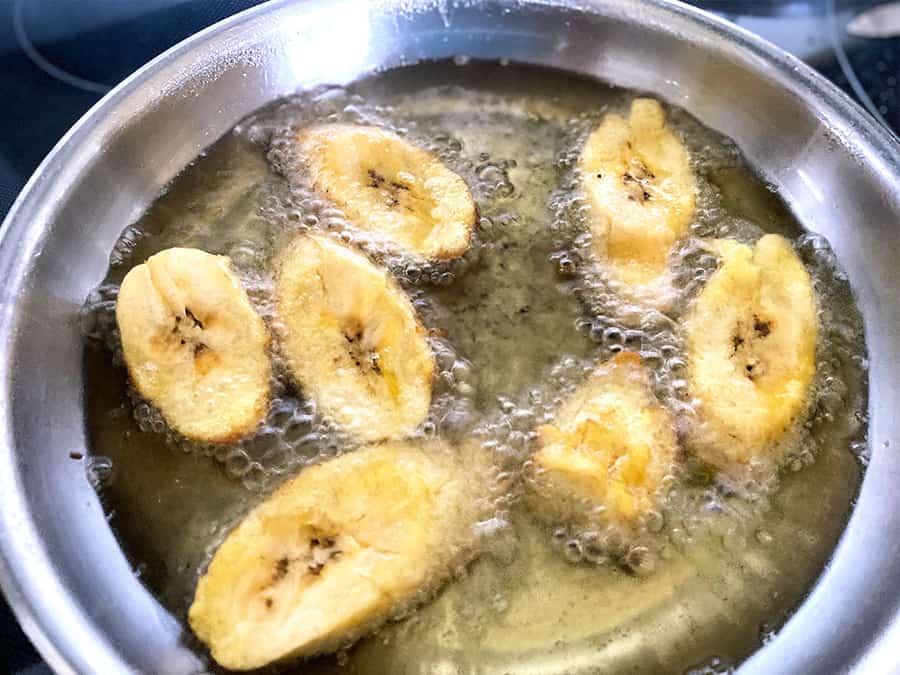
Tostones are twice-fried and mashed into discs. They’re made with green plantains. Because they are unripe, the flesh tends to be really hard. So you need to first blanch the plantains by frying them in low heat. Once they are soft enough to pierce them with a fork, you can mash them and then turn up the heat and fry until they are crisp.
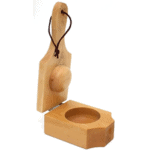
Usually, tostones are mashed into a disk using a tostonera, plate, or flat surface. But you can also use a stuffed plantain press that shapes the tostone into a cup and then fry them like that. This gives you a delightful little bowl that you can fill and serve as appetizers.
One of my favorite fillings to use is shrimp ceviche. But you can fill them with meats, cheese, salsa, you name it. Try them filled with Cuban picadillo or ropa vieja.

Where to Buy Them
Since plantains are so popular now, you can probably find them at your local grocery store. If not, try specialty markets or Hispanic grocers.
You can also find tostones in the chip aisle, already fried and ready to eat. Although these are not as good as the ones you fry yourselves, they are crunchy and can be used as a chip. My only complaint with these is that they are usually smaller than the ones you make at home and are often broken into pieces. You also miss the meatiness you get with homemade tostones. Still, they can be fun to eat. Brands to look for include Chifles and Chiquita.
You may also find fried plantains in the freezer section. These have usually been fried once and mashed, so all you have to do is fry them for a few minutes in medium-high heat to crisp them up. You may even be able to find them in the cup shapes already. Goya is a good brand to look for.
I do highly recommend you try making them yourself if you can. They are so worth the effort! Let me know if you make them and what toppings you used.
Print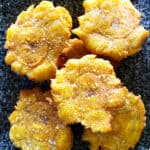
Cuban Tostones Are Great As A Side Dish or Appetizer
- Prep Time: 5
- Cook Time: 9
- Total Time: 14 minutes
- Yield: 6 1x
- Category: Side Dish
- Method: Frying
- Cuisine: Cuban
Description
These tostones are delicious as a side dish or served with a dipping sauce. You can also mash into cups and fill with savory goodies like ceviche or ropa vieja.
Ingredients
2 green plantains
Vegetable Oil for frying
Salt
Instructions
Preheating: Add oil to a frying pan and set on low heat. You’ll need about 1 inch of oil in the pan.
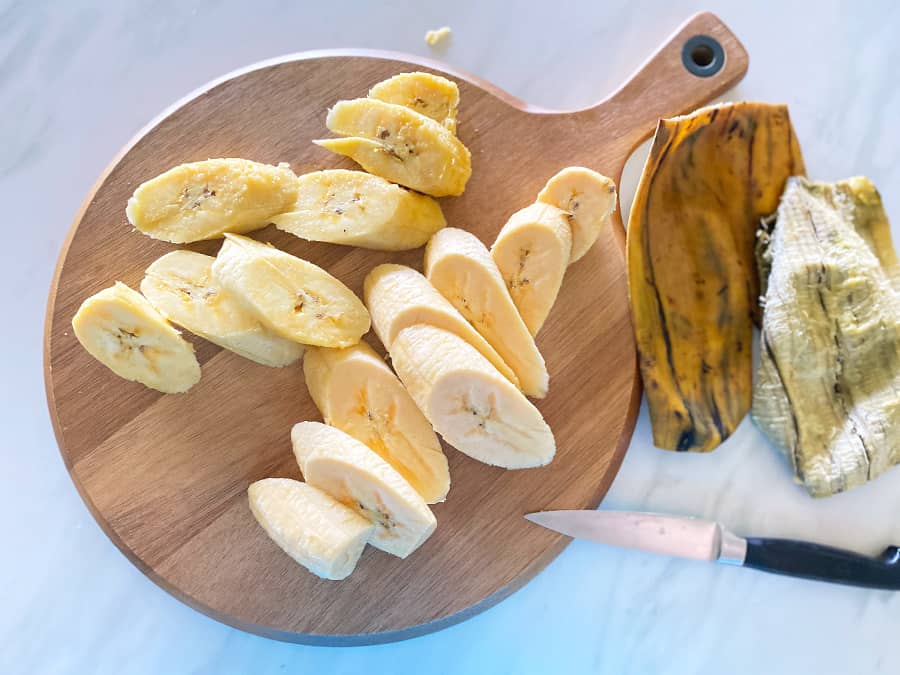
Peeling and Slicing: Cut the ends off the plantain, cut 4 slits diagonally into plantain. Stick a knife blade just under the skin and begin to pry the skin off. Peel each section, being careful not to remove any of the flesh. Cut crosswise into 1 1/2 inch slices.

First Frying: Fry the plantain slices on low heat for about 3 minutes on each side. Remove and drain on paper towels. Remove from oil, drain on paper towels and salt immediately (so the salt sticks to the tostones).
Smashing: Place one slice on a cutting board and use a small plate or a large glass measuring cup to mash the plantain to about a 1/2″ to 1/4″ thickness, depending on your preference. If you’re making tostones cups, you’ll need to use the special masher. Spray the cup with a little cooking spray to make it easy to remove the mashed cup.
Second Frying: Increase the heat to medium low and cooke the plantain discs or cups until golden, about 2-3 minutes total.
Notes
Serve with chimichurri or lime-cilantro aoili.
Watch the videos in the post to see how to mash the tostones.
Nutrition
- Serving Size: 6
Cuban Tostones Are Great As A Side Dish or Appetizer Read More »