Pan Con Tomate Is An Easy Spanish Tapas
Pan Con Tomate is a very traditional Spanish tapas that is deceptively simple and so, so amazing! I must confess that I just recently tried this, although it’s something my mom loves and has told me about literally for decades. It just seemed too simple to be a “thing.” But I stand so, so corrected!
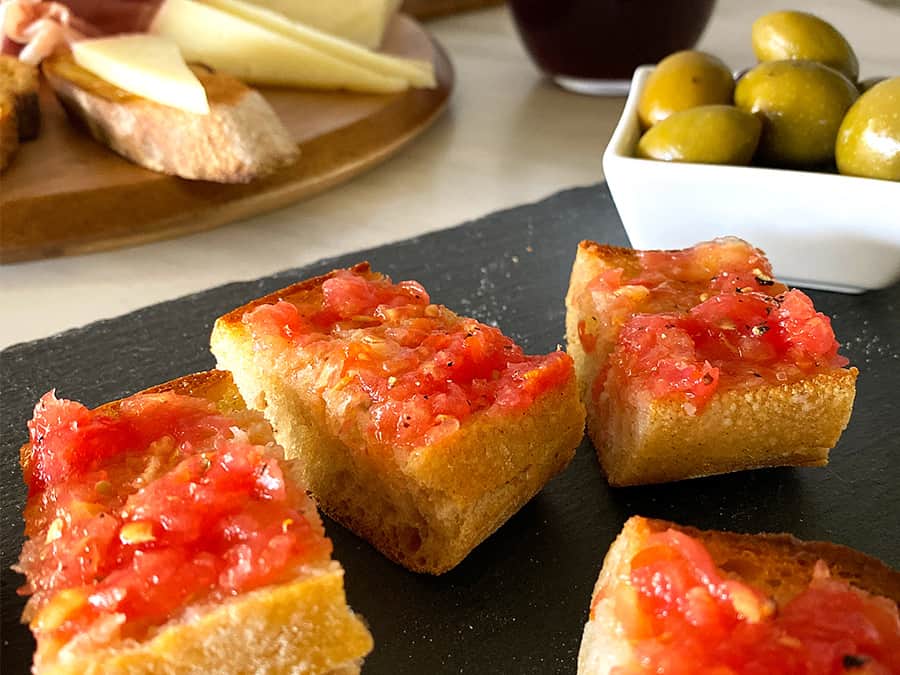
Pan Con Tomate is basically bread with tomato… see what I mean? It sounds so basic, so meh. But don’t dismiss it until you’ve tried it!! It’s similar in taste to Italian bruschetta but simpler, more subtle, and a great complement to a Tabla Mixta (cheese and charcuterie board). You can eat it on its own or pile on some cheese and Spanish ham.
I tried Pan Con Tomate for the first time at Bulla Gastrobar, one of my favorite tapas bars in Miami. We ordered a Tabla Mixta and an order of Pan Con Tomate to go with it. And sangria, of course! I devoured it. I just couldn’t wait to make it at home and show it to you!!
Super Easy Recipe
This requires no cooking and can really be done with just four basic ingredients in ten minutes tops. The tomato topping is literally grated tomato with a bit of salt and pepper. That’s it! Here are the steps:
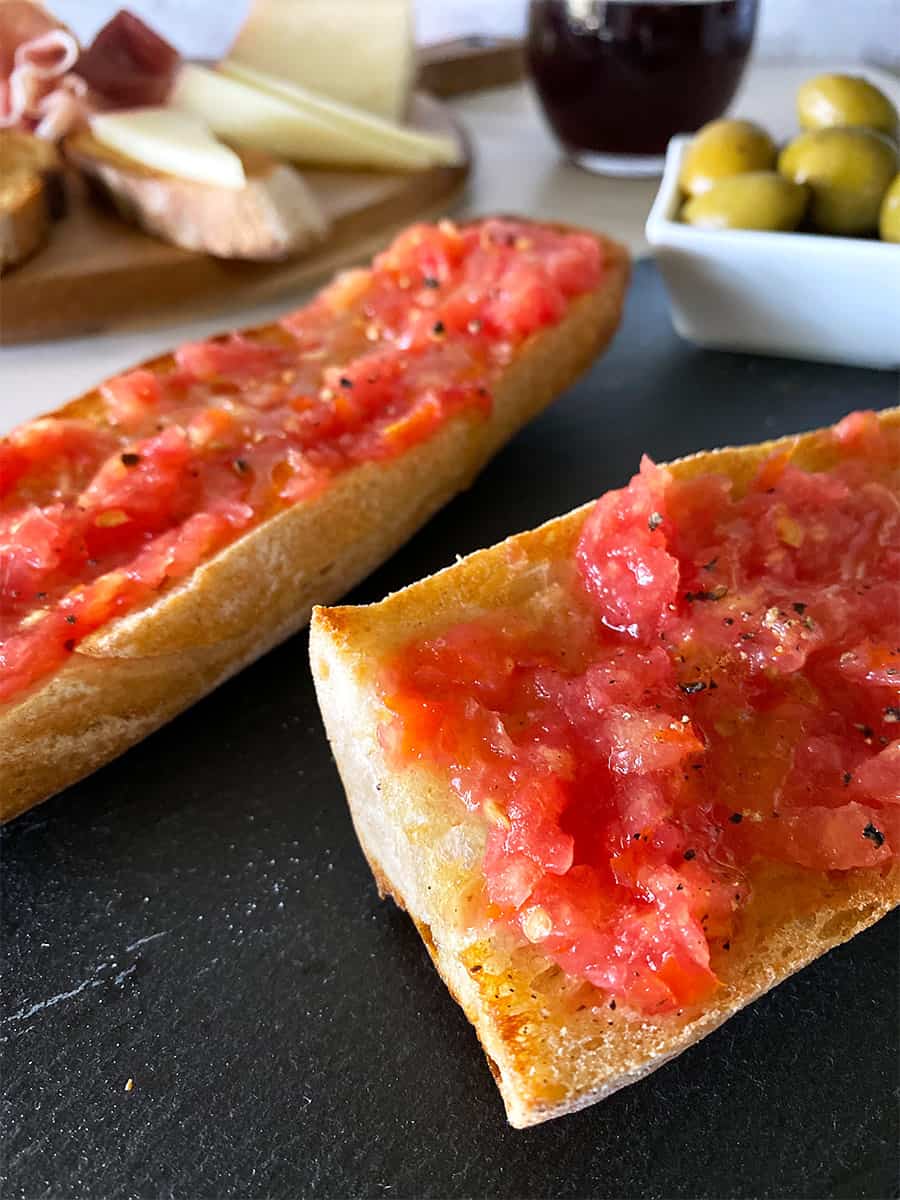
- Cut the baguette loaf into 3-4 pieces crosswise and then split each piece in half, like you would for a sandwich. Or you can cut it into thin diagonal slices, similar to crostini.
- Brush a little olive oil on the bread and toast it.
- Cut a tomato in half and gently squeeze to remove most of the seeds. Then grate each half into a bowl using a box grater. Add a little salt and pepper.
- Cut a garlic clove in half and rub it on the toasted bread.
- Spread a layer of the grated tomato on top of the garlic-rubbed toast.
- Drizzle with a bit of olive oil.
- Pile on extra toppings if you’re so inclined.
- Daintily devour it with wine or sangria.
Easy to make and easy to make it disappear!

Quality Ingredients Go Into This Pan Con Tomate Recipe
The beauty of this Spanish tapas dish is that it’s so very simple to make. But for this Pan Con Tomate tapas to shine and be all it’s meant to be, you need quality ingredients to build it. Here’s what you need:
Loaf of Bread – You need a good quality loaf of French bread or Ciabatta for this Pan Con Tomate recipe. I used a baguette loaf from a great local baker – shout out to Zak the Baker bread, available at my local Whole Foods.
Tomato – You want a nice, firm, vine-ripened tomato for this. I tried an heirloom tomato, thinking that would be best, but I found it not as good as the vine-ripened tomatoes.
Garlic – make sure to use fresh, fresh garlic! I tried this recipe with some poor little leftover garlic cloves the first time I made the Pan Con Tomate, and the garlic flavor was not strong enough.
Olive Oil – You need a drizzle of good quality olive oil. It brightens things up and adds just the right notes. Has to be olive oil.
Prosciutto – This is optional, but I highly recommend it! The traditional ham to use for this is Spanish Iberico Ham or Serrano Ham. But me and my peeps really love prosciutto, so I used that instead.
Manchego Cheese – Again, totally optional, but a great addition.

This is the perfect, easy start to a lovely meal or tapas party. Or a great way to get date night off to the right track ?
Try it with a pitcher of red wine sangria… now you’re talkin’!

I must admit I can be such a brat! For years my mom would gush about how good Pan Con Tomate (bread with tomato) was. And how she grew up eating Pan Con Aguacate (bread with avocado – aka avocado toast), and I would roll my eyes and refuse to try them.
When I was growing up and hearing about these dishes, it sounded so ethnic. It was stuff old Cubans ate, but not for young Americans. I just wanted to be American and eat hamburgers and apple pie. I suppose every immigrant child goes through a phase like this as they try to assimilate and fit in with other kids.
Now the joke’s on me, because everybody loves avo toast and my trendy tapas bar serves Pan Con Tomate. I really should have listened to my mother. ?

Pan Con Tomate Is An Easy Spanish Tapas
- Prep Time: 5
- Cook Time: 5
- Total Time: 10 minutes
- Yield: 8 1x
- Category: Appetizers
- Method: toast
- Cuisine: Spanish
Description
This simple and delicious Pan Con Tomate is a traditional tapas recipe that’s super quick and easy to make. It requires no cooking and can be done with just four basic ingredients in ten minutes tops. Try it with a little prosciutto, wine and cheese. You’ll love, love it!
Ingredients
Loaf of French baguette bread
1 garlic clove
¼ cup olive oil, more or less (I usually don’t measure this, just drizzle as I see fit 😉
3 vine-ripened tomatoes
Salt and pepper
Instructions
- Cut the baguette loaf into 3-4 pieces crosswise and then split each piece in half, like you would for a sandwich. Or you can cut it into thin diagonal slices similar to crostini.
- Brush a little olive oil on the cut sides of the bread and toast it.
- Cut the tomatoes in half and gently squeeze to remove most of the seeds. Then grate each half into a bowl using a box grater affiliate link. Add a little salt and pepper to taste.
- Cut the garlic clove in half and rub it on the cut sides of the toasted bread
- Spread a layer of the grated tomato on top of the garlic-rubbed toast
- Drizzle with a bit of olive oil
- Cut into smaller pieces if desired
- Optional: top with Iberico ham or prosciutto
Notes
Serve with cheese and charcuterie board.
Calorie count does not include ham.
Nutrition
- Serving Size: slice
Pan Con Tomate Is An Easy Spanish Tapas Read More »