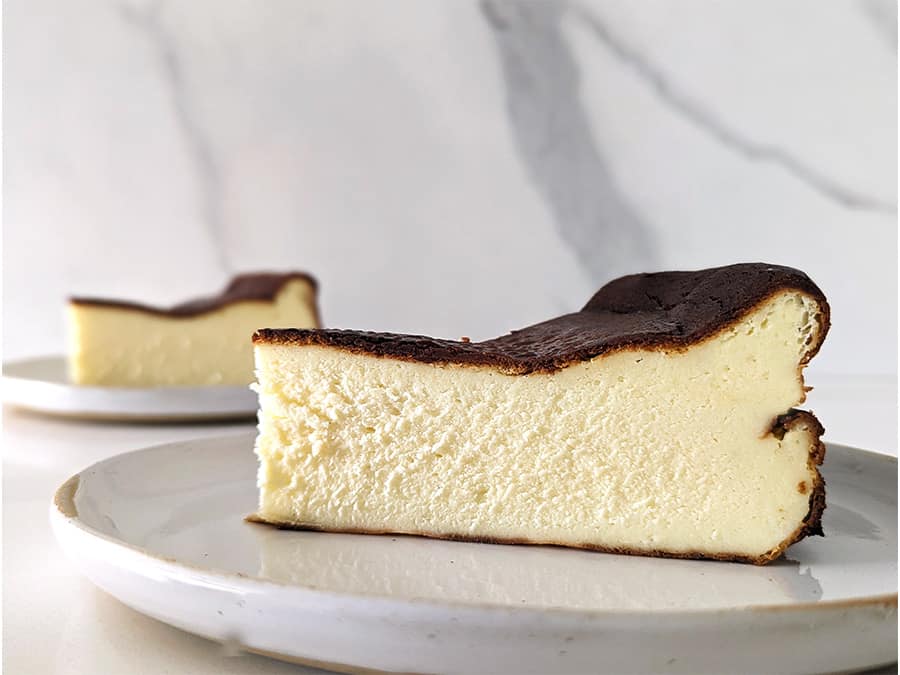
Burnt Basque Cheesecake Is Easy and Stunning!
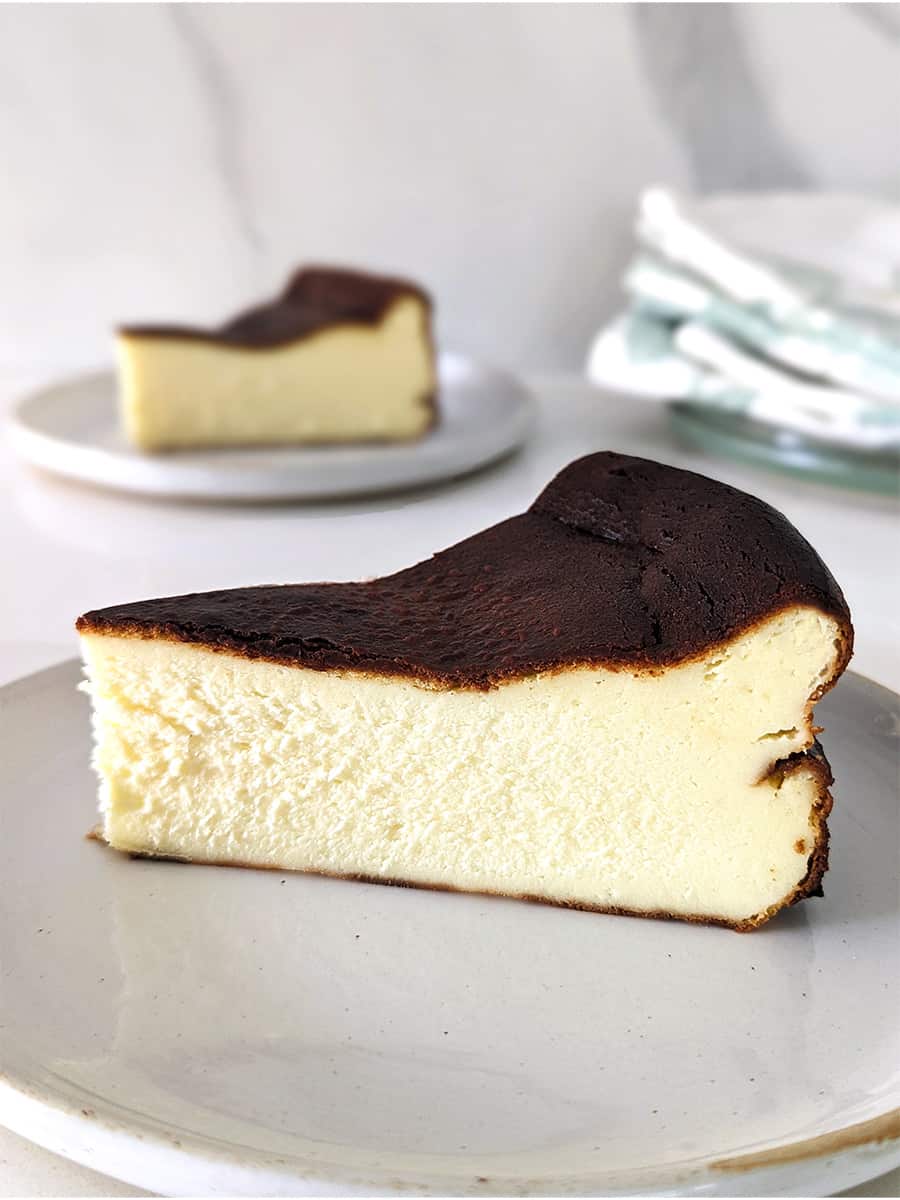
This light and creamy Basque Cheesecake is stunning and yet so very easy to make! It has no crust, can all be done in one bowl, and it’s OK if you burn it. In fact, the burnt edges is what gives this classic dessert such a distinctive taste and rustic appeal.
My Cuban mom (aka the Bean Train) loves to make this cheesecake and she gave me her recipe, which I tweaked a bit. My mom refers to this cake as San Sebastián, because it was created at La Viña Restaurant in San Sebastián… in the Basque region of Spain.
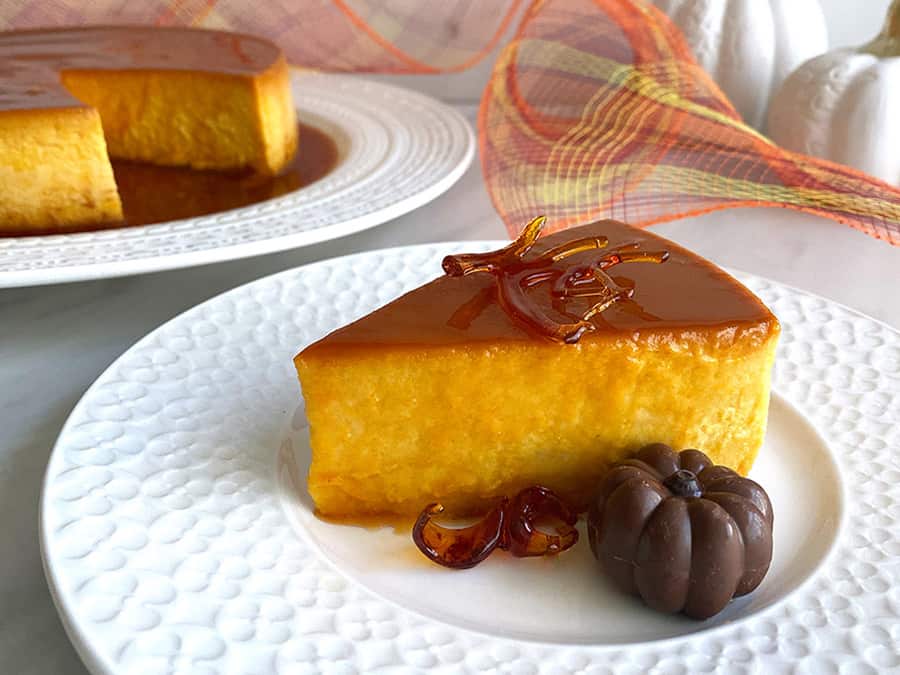
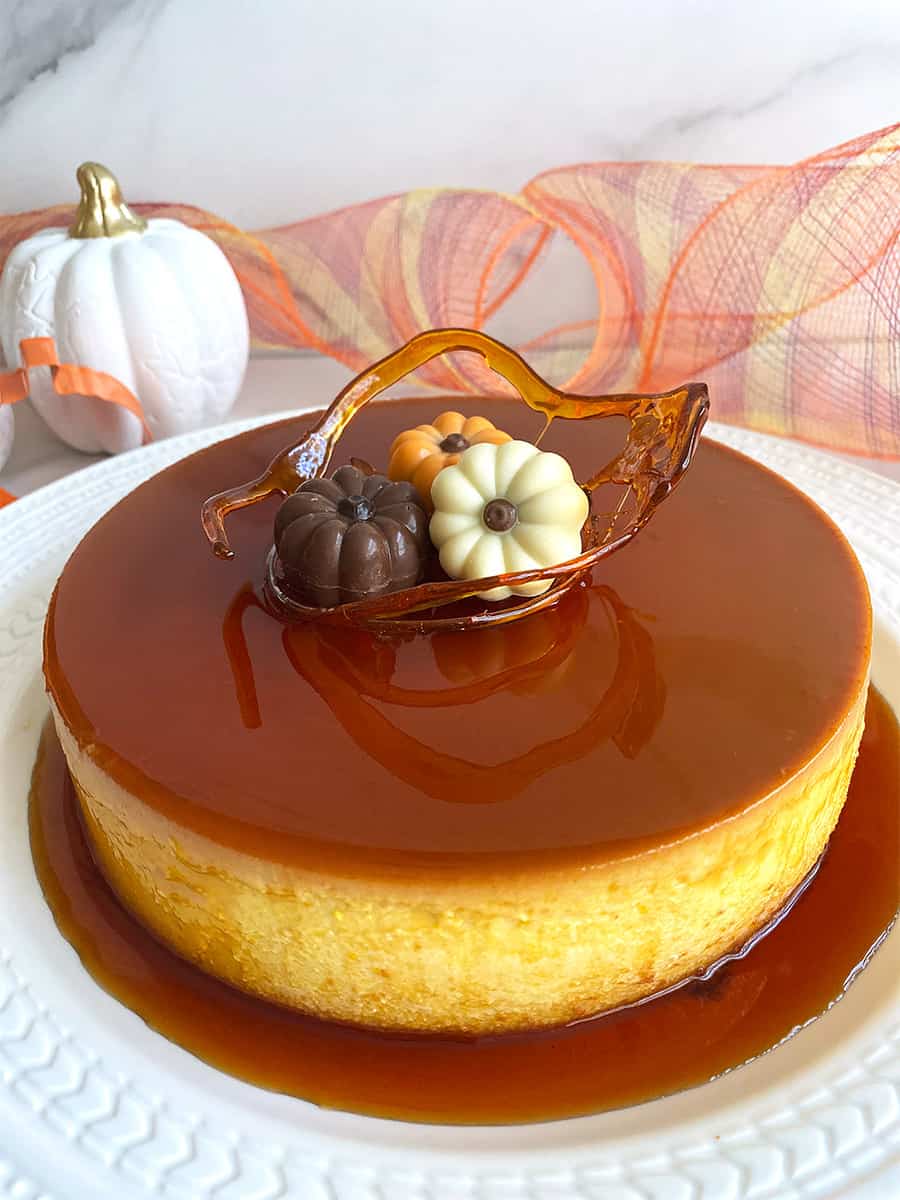
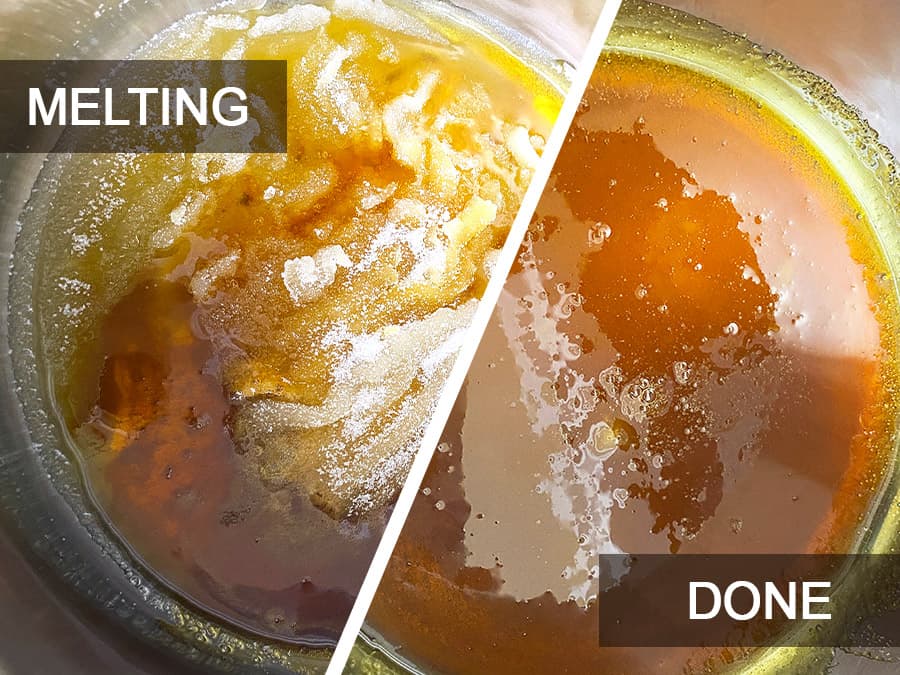
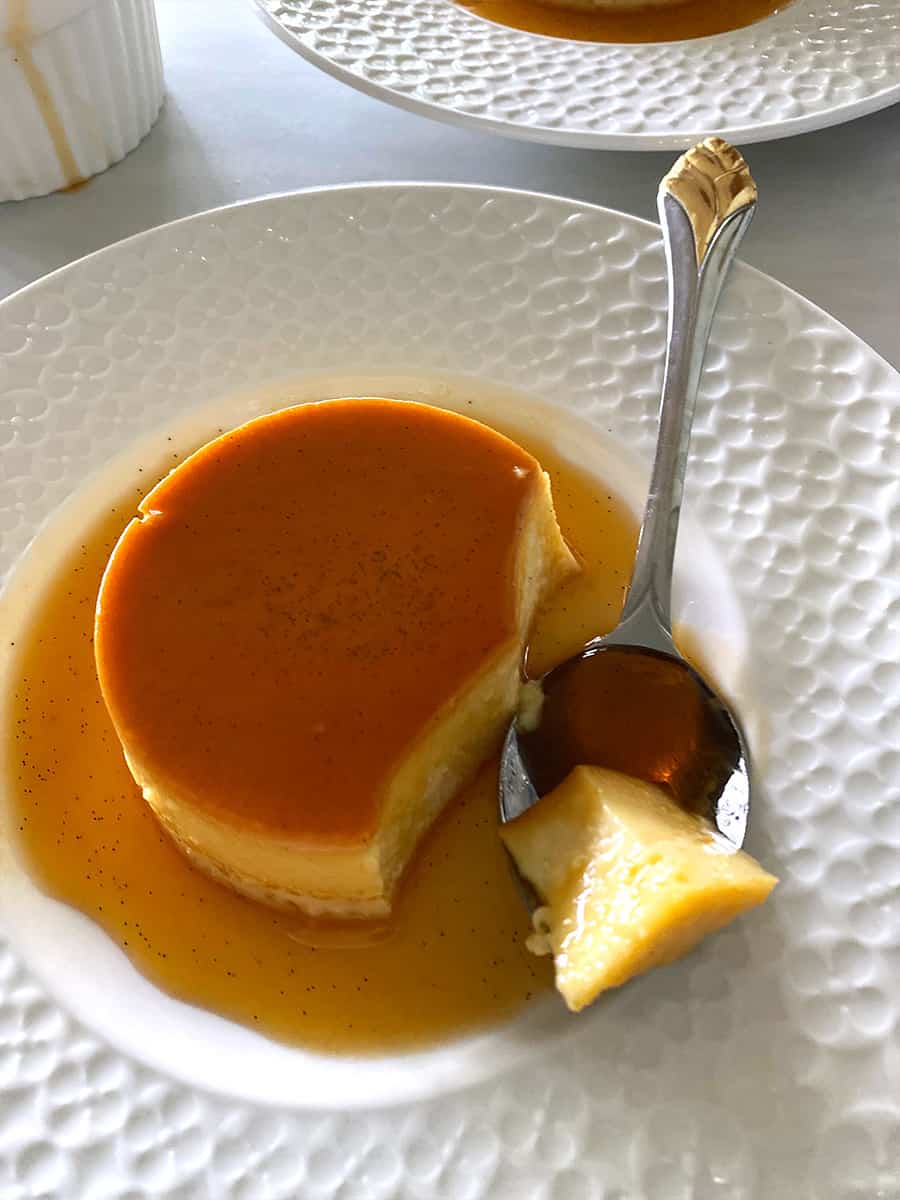
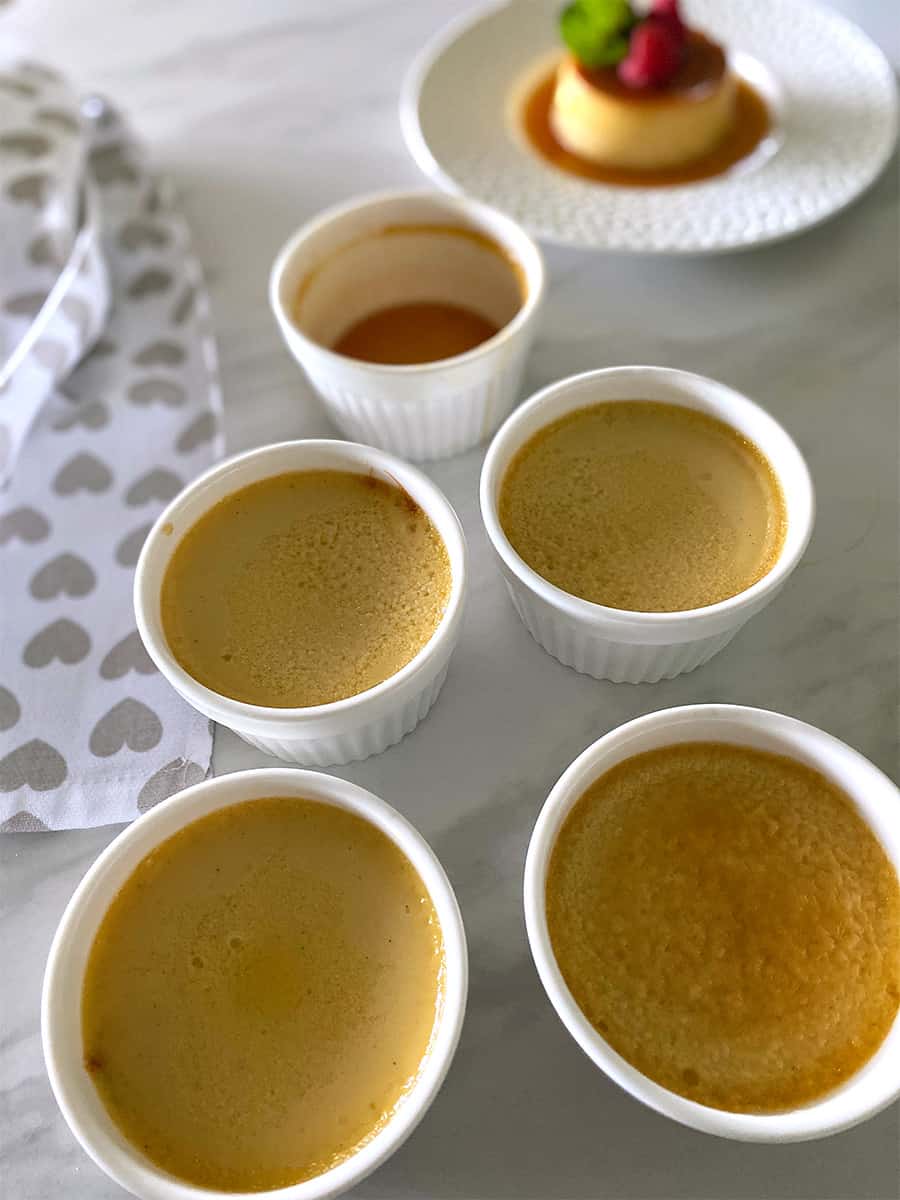
This is one of the two desserts she loves to make, the other one being Cuban Flan, which uses burnt sugar to create a delicious caramel sauce (you should try it some time!).

Burnt Basque Cheesecake vs. New York Style Cheesecake
These two cakes are very similar, yet worlds apart. Both use cream cheese, eggs, and sugar. But the Basque cheesecake uses heavy whipping cream instead of sour cream, reduces the sugar and adds a little bit of flour to help it set in the center.
While New York Style cheesecake cooks low and slow, Basque Cheesecake cooks high and fast. That’s what gives it the burnt exterior, which forms a deliciously rich crust, so there’s no graham cracker crust needed.
New York Style cheesecake usually has toppings and flavor add-ins which add to the deliciousness and the visual appeal. Burnt Basque cheesecake shines best on its own, letting the delicate flavor, fluffy texture and dark caramel tones from the burnt crust shine through.
As for visual appeal, all the cracks and crevices on the Basque cheesecake are a part of its charm. You can’t mess this cake up! I once had it break in half when moving to a cake stand and I was able to put it back together with hardly a mark, it’s just that forgiving! I love that in a cake!
Preparing the Pan
Begin by preheating your oven to 450 degrees Fahrenheit and getting a 9-inch springform pan.
You’ll line the pan with parchment paper, making sure it extends about three inches beyond the edges, as this cake rises like a soufflé. There are two ways to line the pan with parchment paper:
Option 1: Take two parchment paper sheets, crumple them, then flatten. Arrange them in the pan, covering both the bottom and three inches up the sides. Crumpling helps mold to the pan. Spray with cooking spray to prevent sticking. This is the traditional method and much easier to do. But when removing the paper, you sometimes remove some of the burnt edges, and I like all my burnt edges, thank you!
Option 2: The method I prefer involves crafting a parchment paper cylinder and base. Although trickier, I get to keep all the burnt crust goodness. Here’s how: Trace the pan’s bottom onto parchment paper and cut out the circle. Then, cut a strip of parchment paper slightly longer than the pan’s perimeter. Fold it in half and cut lengthwise. Position both strips inside the pan to create a cylinder and secure it with staples (a bit challenging, but worth it!). Lastly, coat everything with cooking spray to prevent sticking.
The first method is much easier, but sometimes the paper can get stuck and removing it can remove a bit of the cheesecake. If that happens to you, it’s OK, the cake will still look good 🙂
Fool-proof Basque Cheesecake
While this cake is easy and so forgiving, it does require some attention to detail. To ensure a fool-proof cheesecake, follow these key steps:
Use room temperature ingredients to ensure even cooking. You’re cooking the cake at a very high temperature so if you use cold ingredients, the center won’t be fully cooked when the exterior is done.
Beat the ingredients at low speed to avoid incorporating too much air into the batter. This cake will rise like a souffle and fall back again, but you don’t want it to rise too high.
Also, scrape the bowl often to ensure a smooth texture. If you don’t, you’ll end up with little cream cheese lumps and it’s not the vibe at all. The consistency of the batter once you’re done mixing should be like very smooth vanilla pudding. We are going for stunningly rustic and creamy, not lumpy and frumpy!
After some experimentation, we’ve found that baking at 450 degrees Fahrenheit for 40-45 minutes yields the perfect balance of creamy interior and caramelized exterior.
Let the cake cool and then set in the refrigerator overnight. Serve at room temperature, naked and unafraid.
Print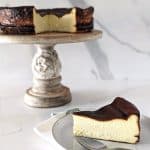
Burnt Basque Cheesecake Is Easy and Stunning!
- Prep Time: 25
- Cook Time: 45
- Total Time: 1 hour 10 minutes
- Yield: 10 1x
- Category: dessert
- Method: bake
- Cuisine: spanish
Description
This light and creamy Basque Cheesecake is stunning and yet so very easy to make! It has no crust, can all be done in one bowl, and it’s OK if you burn it. In fact, the burnt edges is what gives this classic dessert such a distinctive taste and rustic appeal.
Ingredients
All ingredients must be room temperature.
2 lbs cream cheese
2 cups heavy whipping cream
1 ⅓ cups sugar
5 eggs
½ cup flour
1 teaspoon salt
Instructions
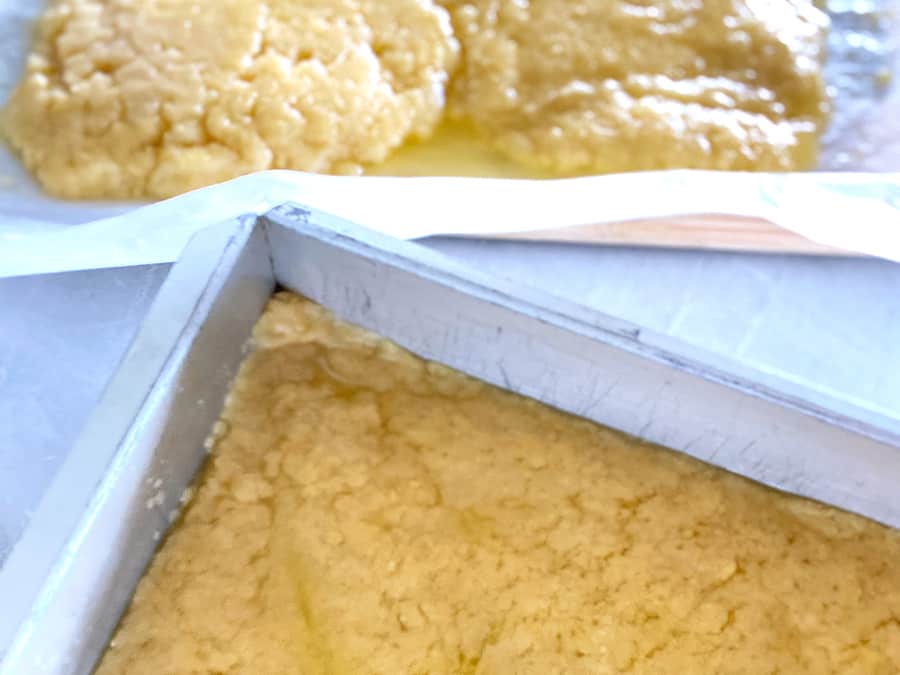
1. Preheat your oven to 450°F (230°C). Prepare a 9-inch springform pan by lining it with parchment paper. Ensure the paper extends about three inches beyond the edges of the pan to accommodate the rise of the cake.
2. To line the pan, trace the bottom onto parchment paper and cut out a circle. Cut a strip of parchment paper slightly longer than the perimeter of the pan. Fold it in half and cut lengthwise. Position both strips inside the pan, securing with staples. Coat the parchment paper and pan with cooking spray to prevent sticking.
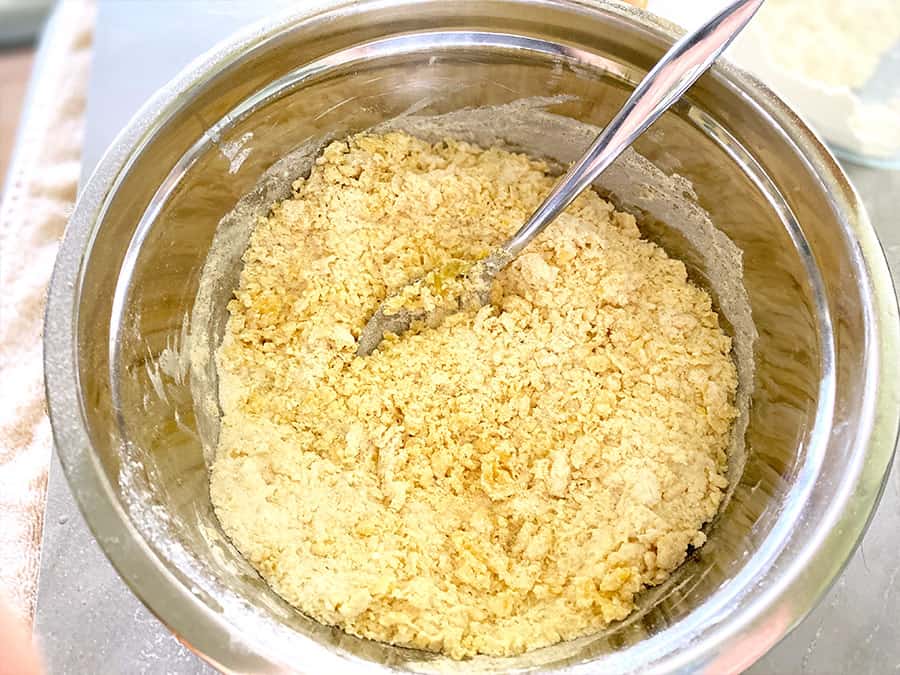
3. In a large mixing bowl, beat the softened cream cheese and granulated sugar on low speed until light and fluffy.
4. Add the eggs one at a time, fully incorporating each before adding the next.
5. Mix in the salt.
6. Gradually pour in the heavy whipping cream in a slow, steady stream while beating at low speed. Avoid overmixing to prevent excess air from being incorporated into the batter.
7. Scrape the sides of the bowl often to ensure thorough mixing and to prevent cream cheese lumps.
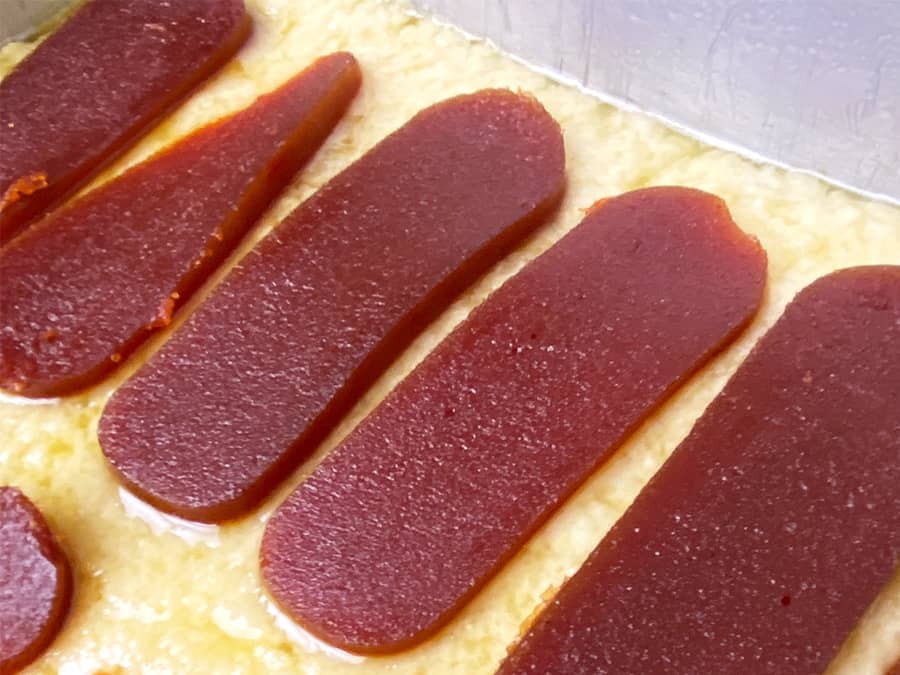
8. Pour the batter into the prepared springform pan and smooth the top.
9. Bake in the preheated oven for 40-45 minutes, or until the top is golden brown and the edges are set.
10. Remove the cheesecake from the oven and let it cool in the pan.
11. Once cooled, refrigerate the cheesecake overnight, or for at least 4 hours, to allow it to set properly.
12. When ready to serve, carefully remove the sides of the springform pan. If desired, transfer the cheesecake to a cake stand by gently removing the bottom of the pan and peeling away the parchment paper.
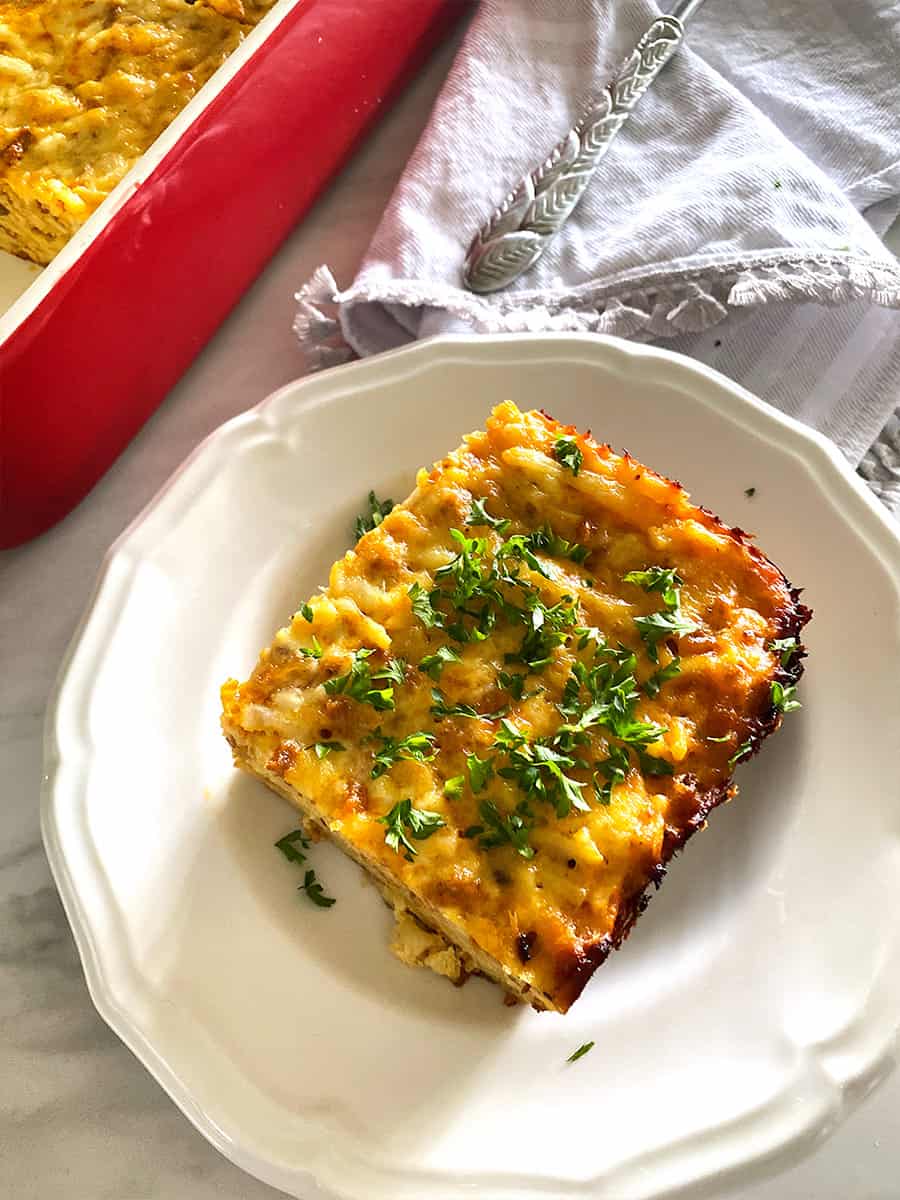
13. Serve the Basque Cheesecake plain, allowing its rustic charm and caramelized flavor to shine. No additional garnishes are needed. Enjoy!
Keywords: basque cheesecake, basque cheesecake recipe, burnt basque cheesecake, basque burnt cheesecake, classic basque cheesecake, burnt basque cheesecake recipe, burnt basque cheesecake recipe
Burnt Basque Cheesecake Is Easy and Stunning! Read More »